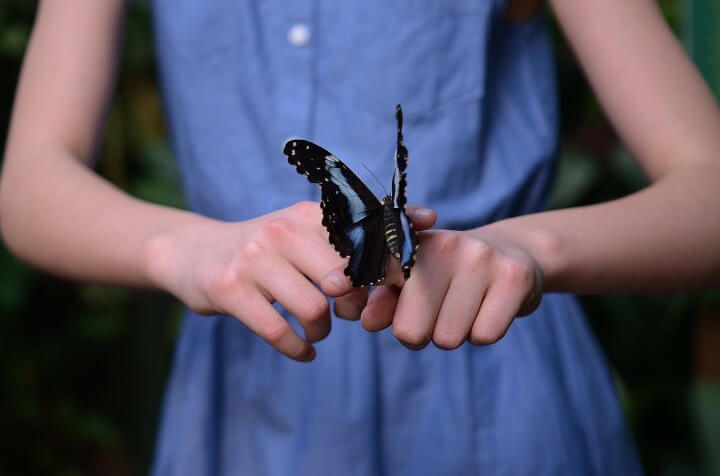
Butterfly Handprint Craft
Materials
- Paper: 3 different colors of construction paper works best
- Pencil or marker
- Scissors
- Glue
- Printer and paper
Instructions for this project:
- Print out the template from http://www.dltk-kids.com/CRAFTS/insects/mhandprintbutterfly.htm
- If you need to, color the template pieces as you see fit.
- Cut out the template pieces.
- Trace the child’s hand on another piece of paper and cut it out.
- Color 4 handprints in one color.
- Color 2 handprints in another color.
- Color 4 handprints in another color.
- Put the wings together.
- Glue handprints in three different colors along the left side of the body.
- Glue a second handprint in the first color, with the thumb facing up to the first handprint on the left side.
- Glue a second of the third colored handprint, with the thumb facing down to the last handprint on the left side.
- Repeat for the right hand side.
- Finish the rest of the butterfly.
- Glue the head to the body.
- Glue the face and antennas onto the head.
- Glue the flower on the hair, wing or beside the neck.