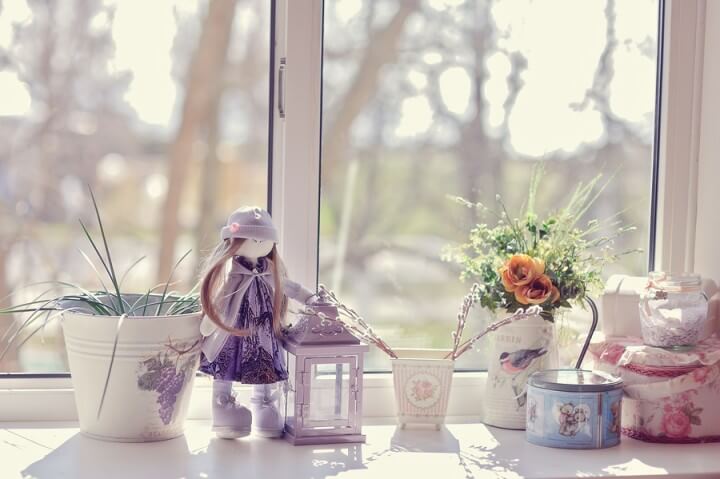
The true fun of decoupage just may lie in the fact that there are virtually no limits to what you can do with it. Decoupage is fun and easy to do requiring little experience or crafting skills and the result can be a truly spectacular project. Basically the method of decoupage remains the same but the items that you decorating may require additional treatment or techniques. We will begin here with a discussion of basic decoupage techniques and then give you some ideas of what you can do it on. Here are some decoupage craft ideas:
Decoupage is one of the easiest crafts to do that can produce some the most stunning results. In its simplest form, decoupage is simply just cutting and pasting, so if you can handle that you can make some beautiful pieces of art using decoupage.
The simplest way to describe decoupage is that you simply cut out pictures and glue them onto an object, then coat the object and the pictures with several coats of glue or decoupage medium to protect them. One of the best things about decoupage is that it is cheap, or often times nearly free to do making it a great craft project to do on a budget. In addition it is family-friendly which means you can do this with kids of all ages.
To get started with decoupage all you need is:
- White glue (which can be used as your decoupage medium)
- Small paintbrush or a cotton swab to spread the glue
- Popsicle stick or other flat object for smoothing out any wrinkles
- Scissors or a craft knife to cut out your pictures
Instructions for the Project:
If you prefer, you can also buy supplies that are made specifically for doing decoupage like decoupage medium, foam brushes, small rollers for removing wrinkles and a variety of other handy tools but keep in mind that this is optional.
Next, you will need an object to decoupage onto. Keep in mind that you can decoupage just about anything including furniture, photo albums, boxes, candleholders, vases, picture frames (basically anything with a solid surface). It is important that once you find an object to decoupage you make sure it is free from dust and dirt before you start gluing onto it. You may also want to put a coat of paint on it if you do not plan to cover the whole surface with decoupage so that the parts that are still showing and not covered with pictures will still look nice.
The next step is to cut out the pictures and prepare them for the decoupage. You can lay your pictures out singly or put them together like a collage. When you have everything placed where you want it then pick the picture up and cover the back thoroughly with the glue. You may also want to lay down a layer of glue on the item as well. Place the picture firmly down on the item and smooth out any bumps or wrinkles from the inside of the picture to the edges. This is where your Popsicle stick can be helpful. When all of the pictures are where you want them to be then you can begin adding layers of glue to seal in your design. Remember that you will want to add layers of glue until the edges of your pictures are flush with the objects surface.
Let dry completely and you will be ready to show off your new decoupage item.
Here are some fun projects to get you started:
- Make some creative lampshades
- Decorate a pair of shoes
- Make your own unique decoupage coffee table (or end tables)
- Decoupage a light switch cover
- Make a one of kind cover for your scrapbook
- Decoupage a plain tray into something spectacular
- Just let your imagination run wild!