This is a great craft that allows crafters who are not as experienced to get a great result.
These easy little pins that are made with Sculpey clay, rubber stamps and embossing powder also make great magnets for your refrigerator too!! This would be a wonderful gift that could be personalized for the gift recipient or the occasion. You may want to click on this link to see examples of what a finished ‘polymer clay cane’ looks like.
What you will need:
- Sculpey in the following colors:
- White
- Black
- Red
- Green
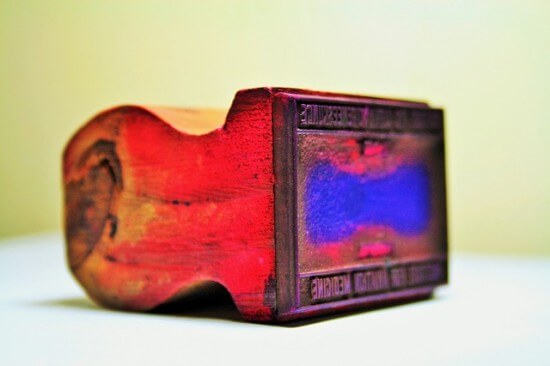
- Rubber stamp of your choice
- Crafter’s pigment black ink or red ink
- Embossing powder
- Pin backing fixture
- Pasta machine or something to roll the clay into a flattened sheet
Instructions for the project:
To Make the Frame and Stamped Image:
Start by flattening the white clay to a sheet about 1/8 inch thick and trim to a 2×2- inch square or to fit your rubber stamp. Stamp the piece with black or red Crafter’s Pigment ink and set aside. Remember that the ink will not be set until the piece is actually baked! Mix a small amount of the embossing powder into the black clay. You will want to mix in enough until you can see small spots in the clay. When that is accomplished roll a coil of the black clay to 3/8- inch diameter and at least 11 inches long. Push on one side of the coil to form a teardrop shape that is the length of the coil. Cut a 45-degree angle in one end of the coil and lay it across the top of the white clay, slightly over the edge of the white clay. Repeat this step with all 4 sides of the white clay in order to form a mitered frame around your stamped image.
To Make the Heart Cane:
Make a coil of red clay, that is approximately 3/8 inches in diameter and 2 inches long. Flatten one edge of the coil the length of the coil, forming a teardrop again. Cut the teardrop coil in half to form two 1-inch pieces. Put the two halves together with the points of the teardrops touching in order to form the points of the heart. Wrap this with a paper-thin layer of black clay. Cut thin slices of the heart cane to apply to the cane.
To Make the Flower Cane:
Start by making a ½ inch coil of red clay, 1 inch in length and cover with a paper-thin sheet of black clay. Then you will need to make a cut ½ through the diameter of the cane and the length of the cane to insert a paper-thin sheet of black clay. This forms the detail of the petals. Roll this down to 3/8 inch in diameter. The coil should now be about 5-6 inches in length. Cut the coil into 5 equal sections that are approximately 1 inch in length. Push each coil into a teardrop shape, being careful to keep the black detail line you inserted above in the point of the teardrop. Roll about 1/16- inch coil of yellow clay and position it in the center of the 5 coils. Be sure to put the pointed ends of the white coils towards the center of your flower!
To Make the Leaf Cane:
Make a ½ in coil of green clay, ½ inch in length. Wrap this coil in a paper-thin layer of black clay. Cut the length of the cane in half and then insert a paper-thin strip of black clay to create the centerline of the leaf. Carefully put the two halves together again and gently roll down 3/8-inch diameter. Press the coil into a teardrop shape, taking care to keep the black center line in the middle of the cane. Slice into thin sections and apply to frame.
To bake your piece:
You should now put your finished piece on an index card or file folder. Put the card on a cookie sheet and put the cookie sheet in the cold oven. Turn the oven on and position at 200 degrees for 15 minutes. Turn oven temperature up to 275 degrees and continue baking for 15 minutes. Turn oven off and allow the pieces to cool down in the oven. When the piece is completely cool, remove from oven and attach pin back with some type of gel glue.
Your piece is ready to wear!