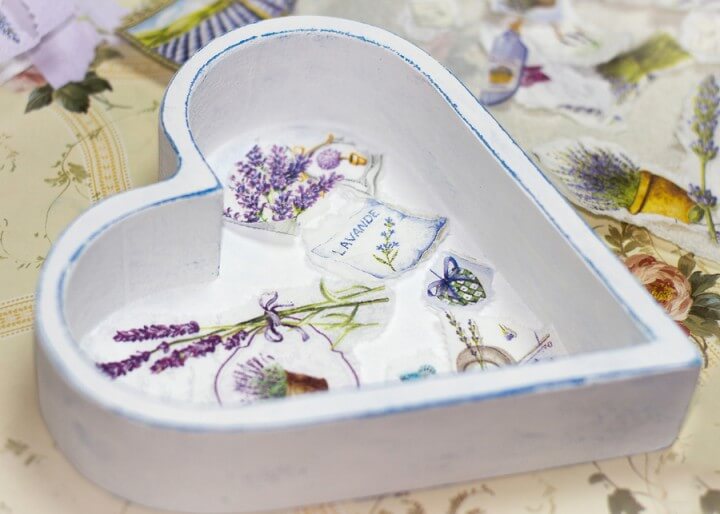
Step # 1 – Find an object
The first thing you need to do is choose an item that you would like to decoupage. If you’re planning to give away hand made decoupage items as Christmas gifts, ornaments are going to be your best option and they are extremely easy to work with. Picture frames are another popular item to decoupage as they are typically made of wood and metal materials to which paper surfaces adhere with ease. The object you choose to work with must be made of wood, plastic, ceramic, paper or metal. Here are some fun items to consider working with when you’re doing a decoupage project:
- Garbage cans
- Vases
- Shelves
- Boxes
- Storage totes
- Photo albums
Step # 2 – Choose your object and the materials to decorate it
As you scour your home to find an object that you would like to decorate, you also need to search your home to find all the materials you need to get started. Most people have some of the basic materials in their home for decoupage like Elmer’s glue, wrapping paper and tissue paper. While most experts recommend you stick with rice paper if you want your decoupage item to stand out and look professional, you can use any type of paper. Try some of these different paper items for your decoupage project:
- Greeting cards
- Postcards
- Magazines
- Fabric
- Wrapping paper
- Wallpaper
- Catalogs
- Books
All of these different materials will make your item stand out and have a unique personality. Some people use their old pictures, which is a great idea if you are planning to decoupage a photo album or scrapbook.
Step # 3 – Gather your supplies
You will need to have a couple pairs of sharp scissors that can easily cut through the different decorative materials you have chosen. A razor blade may be your best option as it can slice through fabric and thick materials and it always produces a clean edge. You will need to purchase some adhesive sealant that will seal the final product once you are done. Elmer’s glue works great to adhere the paper to the item but there are specialty glues you can use that are made specifically for decoupage. It is also important to get some acrylic paint brushes as you can use them to brush the paint onto the paper, making sure you get every inch of paper so it will adhere properly.
Step # 4 – Have an outline
In order to make your decoupage item stand out, you should have a basic outline in mind before you start gluing and attaching anything to your object or it may have a problem. Cut out all the paper before you start applying the glue to it and arrange it on the object so you can get a visual feel for how it will look once you do glue the paper to it.
Step # 5 – Start gluing
Now that you have everything ready to go, you can start applying adhesive to the paper and then adhere it gently to the object. Slowly press out the bubbles with your thumb in order to prevent the paper from tearing and to make sure it looks nice and professional. Use acrylic paint to decorate it or try using crackle paint to give it an antique feel. Once you are done, coat it 4 times with the sealant and your decoupage item is ready.