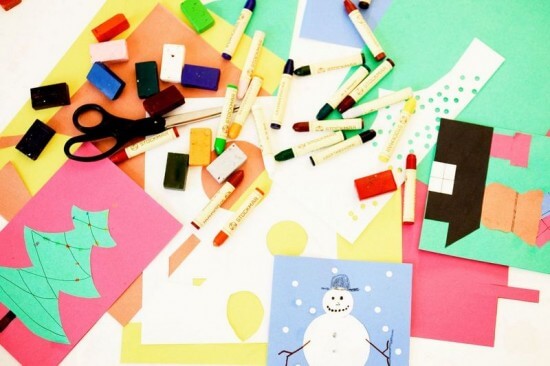
Christmas can be the perfect time to host a crafting party. This kind of party allows you to take some time from the hustle and bustle of the holiday season to gather with family and friends to really enjoy some time together. You can use the craft party to make decorations or even gifts that you want to give to other people. Whether you focus on inviting just your family, personal friends or family and friends of all ages you can create wonderful memories while creating memorable crafts. Best of all this is one of the easiest type of parties to throw. Just set up a refreshment table (away from the crafts to help lesson the chance of spilling on projects) send out some invitations and put some Christmas music in the CD player. You can have a few projects on hand for your guests and invite them to bring whatever they are working on as well. The bottom line is that having a Christmas crafting party allows you to spend time with those that mean the most to you and gives you time to craft as well! Here are some great ideas for a Christmas crafting party-
Beanbags and Sachets-It is very easy for you or your older child to sew a square, and it is fun to think of variations on it, from little treasure pouches to sachets to change purses. Square beanbags are easy to whip up. Simply cut two five-inch squares of fabric and sew them together, right sides facing each other, leaving room to pour in the beans or herbs. You can have your child turn the bag right-side out, poke out the corners from the inside with a pencil, and then pour in some dried beans, rice or sachet and stitch up the last side by hand. Three beanbags that are tied up in ribbon make a nice juggling set for a kid’s pal. For a sachet (which adults may prefer), you can substitute fragrant herbs such as chamomile, mint or lavender for the beans.
Beaded ornaments-While this craft is easy to make the results can be simply stunning.
What you will need:
- Pipe cleaners
- Transparent craft beads (5- to 10-millimeter diameters)
- Time needed: Under 1 Hour
Instructions for the project:
Bend one end of a pipe cleaner into a 90-degree angle. You can also have your child thread on beads from the opposite end, stopping a half inch from the tip. When the pipe cleaner is full simply twist together the two ends, and the strand is then ready to shape into a star, a candy cane, or another festive object.
Variations:
You can also twist together the ends of two pipe cleaners for a longer strand, or attach short beaded lengths to add a striker to a bell or holly berries to a wreath.
Family photo book-Filled with favorite photos, this may just the present for a relative or special family friend, particularly one your family sees less often than you would like.
You will need:
- Assorted photos
- Craft knife
- 4-ply and 2-ply rag board (sold at art supply stores)
- 26-inch-long piece of ribbon
- Colored paper
- Glue stick
- Time needed: Under 1 Hour
Instructions for the project:
Choose about seven favorites from a stack of family photos. Using the craft knife cut two 5- by 6 1/2-inch rectangles from the 4-ply rag board for the book covers. For the inner pages, you will need to cut one 5- by 39-inch rectangle from the 2-ply rag board. Then lightly mark 6 1/2-inch increments along the long edges of the 2-ply rag board, and carefully accordion-fold the sheet at those marks. You can use a ruler edge to press the folds into sharp creases. Lay the ribbon on a tabletop and then center the folded rag board on top so that the side with three creases is on the left and lines up with the midpoint of the ribbon. Carefully apply the glue to the top of the folded rag board. Then you can lay the left side of the ribbon over the glued page and top with one of the book covers, pressing firmly until it is well stuck. Gently flip over the book and use the same method to attach the right side of the ribbon and the back cover. Cut the colored paper into seven 4- by 5 1/2-inch rectangles. Glue one piece onto the center of each page and the front cover. Then you can glue the photos onto the colored paper. As a last step print the year on the front cover.