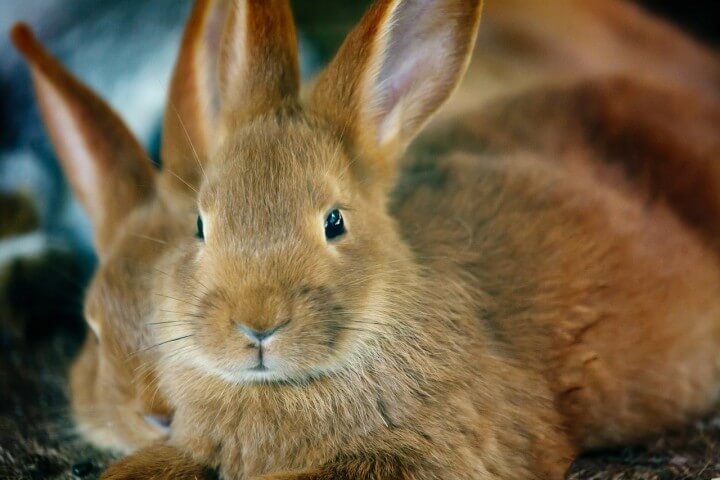
There are lots of different crafts that you do can at Easter; however, the most fun just may be making Easter Bunny ears! Young children are especially fond of this craft, and love to wear their Easter Bunny ears proudly! This can be a great classroom project, or be for an Easter program (how cute would a chorus of young singers look?) or just be a fun project to do with your kids. There are lots of different methods and how complicated you want to make will be up to you. Here is what you need to know about how to make Easter Bunny Ears-
Poster Board Easter Bunny Ears–
These paper ears are both a fun and an easy project to do. It is simply perfect for the Easter holiday. Keep in mind that these bunny ears can be made in any size for kids or adults, and the entire project can be easily adapted. You can even make them to decorate your Easter basket, or tiny enough to fit on an Easter egg. Remember there are no limits on how your Easter Bunny ears can look. Be creative and make your bunny ears special with glitter pens, ribbon, stickers and paint.
What you will need:
- Scissors
- White poster board
- Pencil
- Pink construction paper
- Craft glue
- Flexible measuring tape
- Tape or stapler
- Easter stickers, cotton balls, glitter or ribbon (optional)
- Markers, crayons or colored pencils (optional)
Directions for the project:
Start by cutting a piece of white poster board measuring about 4 inches by 18 inches. Keep in mind that you can modify the size of your Easter bunny ears depending on their final purpose. Fold the white poster board in half lengthwise and carefully draw the shape of your bunny’s ears onto the paper. Cut through both layers of poster board to create both ears. Use the pink construction paper to cut out the inside portion of your Easter bunny ears, making them the same shape and just slightly smaller than your white construction paper ears. Pink is the most common color, but there is no reason why you can’t get creative and use baby blue, purple or other festive Easter color. Apply a thin layer of craft glue to one side of each pink inner ear portion and place it on top of the white poster board ear, centering the pink portion as best as possible. Then you will need to measure around your head to determine how long to cut the band that will hold your Easter bunny ears. Cut a strip of white poster board, adding two inches to your head measurement to determine the length and making the strip about 2 inches wide. Form the band into a circle and attach with glue or staples. Position your bunny ears on the band so that they are evenly spaced behind the head, pink portion facing forward. Attach them as well with staples or glue. Then you can add the final touches to your Easter bunny ears, decorating them with glitter, stickers, cotton balls ribbons or anything your imagination desires.
Easter Bunny Visor Ears–
This project is similar to the one listed above, but for a fun twist the ears can be attached to foam visor. This gives wearing Easter Bunny Ears a whole new sporty look.
What you will need:
- Craft foam visor
- Craft Foam
- Craft Glue
- Pom-poms
- Wiggle Eyes
- Chenille Stems
- Scissors
Directions for the project:
Cut out two ear shapes from craft foam. They should be approximately 2-inches wide by 3-inches tall. Cut two inner ears out of contrasting craft foam. These should be about an inch smaller than the outer ear. Glue the inner ear to the outer ear. Glue the ears to the top edge of the visor. Glue two wiggle eyes on your bunny visor. Glue two 1-inch pom- poms onto the visor side-by-side to look like cheeks. Glue a smaller pom-pom on top of these to look like a nose. For a nice finishing touch, cut 4-inch pieces of chenille stem and glue them along the sides of the cheeks to be the bunny’s whiskers. Let the glue dry completely then wear your new bunny ears with pride!