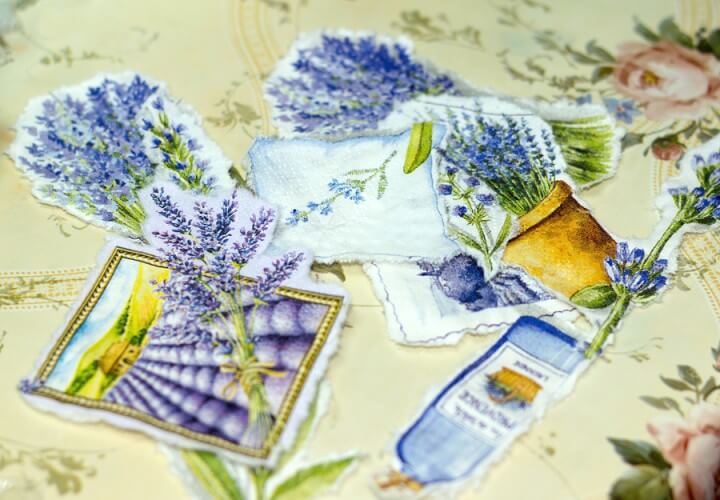
 Decoupage is a fun way to decorate ornaments, paper, glass, boxes and almost any other object you can think of that paper and glue will stick to. Using paper cut-outs, you can create a unique and original piece of art for your home or as a gift for a neighbor, friend or loved one. This article will guide you through the art of decoupage so you can get started right away.
What You’ll Need:
First, gather all the appropriate materials. Part of decoupage is individual preferences so choose materials that you feel comfortable working with. Try using some of these preferred materials to get started:
- Acrylic paint
- Elmer’s glue
- Ornaments, glass, picture frames or another item that you would like to decorate
- Paper (Hint: construction paper works the best)
- Acrylic lacquer to seal the decoupage once it’s dry and complete
Instructions for the Project:
Some people work with several different types of paper. Since this is your first attempt at decoupage, stick with copy paper in different colors as it is easier to work with. Rice paper and tissue paper also add some wonderful decorative elements to your decoupage item. The tissue paper is nice, but only use it when you are gluing it to a dark surface or you will be able to see through it. Rice paper looks like tissue paper, but it is much stronger and it lasts longer. Rice paper doesn’t rip and it is wonderful if you need to cover a large surface.
Getting started:
In order to start decoupage, you need to prepare the surface you plan to work with. Depending upon the type of surface you are working with, you will need to use sandpaper to grind down the surface and make it smooth. Degrease any of the objects you plan to use in order to allow the glue to adhere properly. Once the object is prepared, you will soak the item in cold water for a minute, lubricate it with glue and then place the paper on the object. Once the paper has dried to the object, you will need to use the lacquer finish to seal it. Use some acrylic paint to add some additional decorative touches to the object to make it stand out.
Since it can take a couple tries to get just the right look, get all the paper ready beforehand and place it on the object without the glue to see what it looks like. The paper on its own can look cool, but it often looks incomplete or understated if you don’t add some other decorative touches to it like crackle paint or acrylic paint.
One tip to remember when you are using decoupage is to go slowly, and gently smooth out the bubbles on your object as you go. A gentle touch is required because the paper is very thin and frail and it can rip, especially when it is wet. Part of the fun of decoupage is that you can overlap the different layers to make it original and unique; this is also great technique to make your object stand out. Once you have all the paper in place, use the crackle paint to make it appear antique. The crackle paint is a wonderful addition, especially if you are planning to give your decoupage piece of art as a gift.
To prevent the item from having problems with proper paper adhesion, apply a generous amount of glue to the paper before you apply paper to item.

Me and my daughter have tried this one, once we have this old wind chime and we decided to give it a new look, we decoupage it and after 1 hour or 2 were done. It look so great that we just leave the wind chime at the veranda while the cool breeze blowing which make it chimes so beautifully.