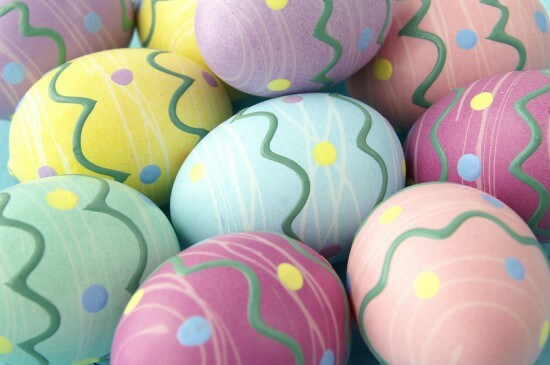
While you are dyeing your Easter eggs this Easter season, keep the following tips and trivia in mind. There are all sorts of crazy things to know about Easter eggs and Easter egg dyeing traditions; it turns out that monochromatic pastel eggs hidden under bushes and in trees actually have a history that goes back thousands and thousands of years! So have fun with this trivia, and pick up some Easter egg dyeing tips as well!
1. If you took all of the Easter egg dyeing kits that are sold each year, and you lay them from end to end, they would reach about 1400 miles, or the distance from Miami, Florida, to Chicago, Illinois.
2. The tradition of using colored eggs to celebrate the onset of spring began 5000 years ago in Persia around 3000 B.C. On the first day of spring (the spring equinox), they would give each other eggs that were dyed red.
3. The ancient Persians were not the only people who used eggs to celebrate the arrival of spring. The ancient Egyptians, the ancient Greeks, and the ancient Romans also used colored eggs to celebrate the arrival of spring.
4. The first known Christians to use colored eggs to celebrate the Easter season were the thirteenth century Macedonians. Crusaders who had traveled to the Middle East brought back to Europe the custom of using colored eggs to celebrate spring time holidays. The tradition caught on very quickly in Europe, and colored eggs quickly became an integral part of Easter celebrations.
5. In South America, you don’t have to use egg dye and food coloring in order to achieve beautifully colored eggs. Instead, South American Ameraucana and Araucan chickens can lay colored eggs all on their own: these chickens can lay eggs that are colored green, blue, or even pinkish!
6. Laying eggs is not the piece of cake that it seems to be! It takes a hen from 24 to 26 hours to complete the egg laying process. Even the best egg laying hen cannot lay more than one egg a day.
Want to know the best way to hard boil your Easter eggs? Here is the best way to get perfectly boiled hard boiled eggs that can withstand even the roughest and most energetic Easter egg hunt.
How to perfectly boil your hard boiled Easter eggs:
1. Put eggs in a large pot. You should keep the eggs in one layer. If you have more eggs than will fit in the pot, then it is best to do it in batches, though you can do more than one pot of eggs at a time.
2. Fill the pot with enough water to cover the eggs with one inch of water.
3. Put the pot on the stove and bring the water to a strong boil.
4. Boil the eggs and the water for 12 minutes.
5. Take the pot off of the stove. Then remove the eggs from the water with a slotted spoon (or another implement, but the slotted spoon tends to work best).
6. Immediately put the eggs into a bowl that is full of cold ice water so that you can stop the cooking process right away.
In addition, if you do not want to spend a ton of money on expensive Easter egg dyes, you can create your own Easter egg dye at home. Simply add one teaspoon of distilled white vinegar to each cup of water, then add food coloring to the mixture. It is best just to add a couple of drops of food coloring at a time so that you can see exactly what color and shade your mixture is.
