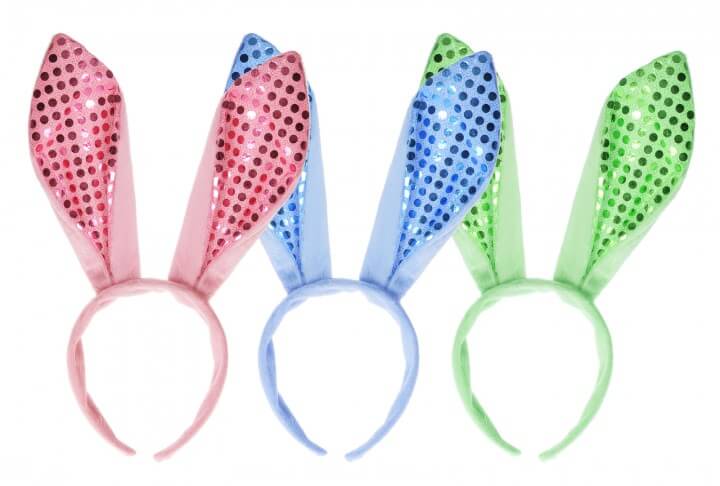
This is a fun take on making those Easter bunny ears everyone loves to wear at Easter time. You can easily do this project with a classroom full of kids, or use to have a fun afternoon of crafting at home.
What you will need: (for each set of ears)
White Felt
Pink Felt
Black Headband
Hot Glue Gun-*Be sure to preheat it if you need to.
2 Pipe Cleaners
Scissors
Directions for the project: The first step is to cut out the shapes for the ears. To cut out the ears, you should take your white piece of felt and fold it in half. Once the piece of white felt has been folded, you will want to draw (or trace) a Easter bunny ear shape on the white felt, twice, that starts at the crease and works up to a point. For the best results you will want this shape to be at least 7″ tall.
It is important to make sure that you don’t cut the crease, since you want to have two white Easter bunny ears that unfold at the bottom of the ear to form an almost rounded, narrow, diamond. You want this result so that you can hide a pipe cleaner inside the ears. This way they will stand up and can be posed by the child.
The next step is to cut out the pink insides of the ears. To do this you will want to follow a similar process as the one you followed with the white felt, only this time you don’t need to fold the felt, and you will want the Easter bunny ear shape that you cut out to be smaller so that it fits in the white and doesn’t completely cover it. If you used an Easter bunny ear stencil to cut out the white part of the ears, you can simply slide the stencil further down on the felt, so that you get a shape that is slightly shorter and narrower to place inside the white Easter bunny ears.
Once you have the white and pink Easter bunny ear shapes, you are ready to begin assembly on your own Easter bunny ears. The first step is to take the two pipe cleaners (preferably in a color that you can’t see through the white felt), and attach them to the black head band with hot glue in the places where the ears will be. Make sure that you have them far enough apart that you have room for the ears, since the ears are much wider than the pipe cleaners.
Once the pipe cleaners have been attached to the headband, you will want to take the white Easter bunny ears and unfold them, then fold them around the headband and up onto the pipe cleaners, trim the pipe cleaners so that they are concealed by the white felt. Once the white felt is in place is should cover the pipe cleaner with the point of the ear facing up, and the crease as the bottom of the double sided ear, on the underside of the headband so that when your child puts their Easter bunny ears on, the crease will be between their head and the headband.
Once you are satisfied with the positioning of the white felt part of the Easter bunny ears simply hot glue them shut, over the pipe cleaner by placing hot glue around the inside edges of the ears. Once the white felt is glued shut you can glue the pink inner ear onto the front of the white felt ears by placing hot glue around the edges of the pink felt pieces.
Finally, if you want to make your ears even more personalized you can add pink glitter or sequins to the insides of the ears, or anything else you would like to.
