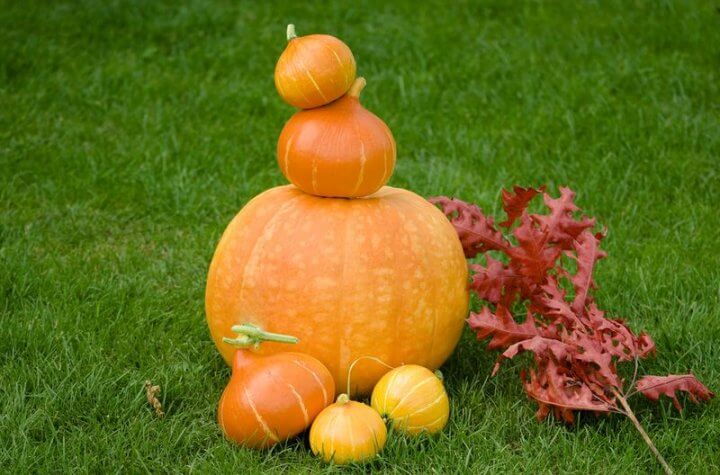
When Halloween rolls around, the pumpkin patches in the area become a center of constant traffic as potential pumpkin carvers come to pick that perfect pumpkin. While in days past you may have only seen a traditional face carved on Halloween pumpkins, today it seems anything goes. Crafty pumpkin carvers are coming up with lots of ways to decorate and carve their pumpkins. Pumpkin carvers are literally using their Halloween pumpkins as an expression of art. If you are lost as to the many wonderful ways to carve your Halloween pumpkin, then help is here! If you want to join this crafty trend then read on for a really great Halloween pumpkin carving idea.
· If you are bored with the usual ‘carve-a-face’ in your pumpkin, then this is a project you should try. It is easy and extremely fun! This is also a good project that can be done with children.
Jack O Lantern Village
Materials needed:
Foam core
Green paint
Tissue-covered candy suckers
White yarn
Black marker
Lettuce
Carving knife
Pumpkin (in size of choice)
2 miniature pumpkins
Sugar cookies
Bone-shaped cookie cutter
Carrots
Broccoli heads
Small tomatoes
Empty paper-towel roll
Pineapple head
Potatoes
Gumdrops
Toothpicks
Can of dry ice
Step 1-Cut a thick piece of foam core for the base and paint it green.
Step 2-You can make ghosts for your village by covering suckers with white tissue.
Tie a piece of yarn around the neck and use a black marker to create the eyes and the nose.
Step 3-Decide how many houses you want in your village. Carve a front door and windows out of each of the larger pumpkins. This will be determined by the size of your village and your pumpkins.
Step 4-A fun way to add character to your village is to make a doghouse out of a miniature pumpkin. Carve the door for the dog and perhaps label (using your black marker) over the dog like a traditional dog house.
Step 5- Bake bone shaped sugar cookies to add ambience to your village.
Step 6-Now is the time to set up your Jack O’ Lantern village. Place the pumpkins where you want them on the green foam core. Use sliced carrots as the walkway.
Broccoli, lettuce and small tomatoes can be used for the shrubbery both front and back of the houses. You can add the perfect palm tree by using an empty paper towel roll and the top of a pineapple.
Step 7-A fun detail to add would be to carve another mini pumpkin as a garage for one of the pumpkin houses. Potatoes can make great cars with gumdrops for headlights and using carrot slices for the wheels. Use toothpicks to place these items on your potato car.
Step 8-The tissue paper/sucker ghost can be placed on potato cars or propped up around the village.
Step 9-For a really great effect you can make a smoking pumpkin house. To have this effect all you need to do is just place a can of dry ice inside the pumpkin and pour hot water in the can. The effect will be “smoke” pouring out the door and windows of your pumpkin house. Always use extreme caution when handling dry ice. Wear thick gloves, and do not let children play with dry ice since burns are common.
There are many different things you can do when carving your Halloween pumpkin. Be adventuresome and let your creativity rule as you prepare for the fun of Halloween. While you may be in awe of experienced carvers who can seemingly create anything, know that with a little creativity and fun you can have the Halloween pumpkin that wows your family and friends!

