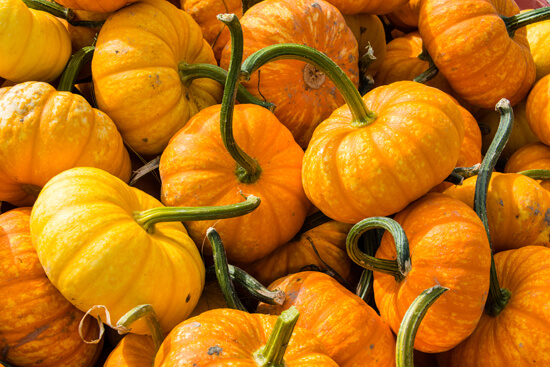
If you are the room mother or teacher’s helper in your child’s school classroom you may be wondering what Halloween pumpkin project you could have the kids do during the Halloween party. While there are numerous that you can choose from you must consider the age of the children, the time constraints of the classroom party and the portability of the finished project. All of these Halloween pumpkin projects are great for younger children, can be done quickly and easy to bring home from the classroom. Here are some great Halloween pumpkin projects for the classroom:
• Pumpkin Candy Pouches-This is an easy to do craft for the youngest of children.
What you will need:
- Orange Tissue paper
- Black construction paper
- Green yarn
- Small wrapped candies (You may be able to fit one candy bar on the bottom along with several wrapped candies.)
Instructions for the project:
Cut a square of tissue paper that is about 6″x6″. Have the child pile the candies in the center. Bunch up the edges and tie with yarn. Have the child cut face pieces out of black construction paper and glue to “pumpkin”.
• Soda Bottle Jack-O-‘Lantern Craft-This clever craft is especially popular with kids. You may want to have everyone bring a soda bottle or begin collecting long before the party.
What you will need:
- Materials:
- 2 liter soda bottle, with label removed
- Orange paint
- Self stick felt (need to pre-cut beforehand)
- Green regular felt cut in circles (about 3-4 inches)
- Twine
Instructions for the project: Pour some paint inside the bottle add a little water, put the lid on and let the kids shake it around to distribute it all around the bottle.
Pre-cut eyes, noses and mouths from the self-stick felt and let the kids choose which ones they wanted to stick on their bottle. Add the green felt circle to the lid and tie the twine around it with a bow.
• Pumpkin Treat Carton-This makes a wonderful container to send home treats after a Halloween party at school.
What you will need:
- An empty 2 L milk carton,
- Glue or tape,
- Scissors,
- Black construction paper
Instructions for the project: Make the pieces of your Jack O lantern face out of the black construction paper. Cut out all of the pieces. Cut the top off a milk carton. You can cut off as much of the top as you like it will depend on how tall you want your container to be. Cover your milk carton with the orange construction paper keep in mind that it takes about 2 pieces. Then you can tape or glue the eyes, nose, mouth, leaves and stem onto the front. Cut out a strip of cardboard or construction paper that is about 10 inches long and glue to the sides of the container to use as a handle.
• Pumpkin Votive Candle Holder Craft-While this is a fun craft it is important that you talk about fire safety and with matches when you make this craft!
What you will need:
- One small baby food jar, cleaned with label removed.
- Orange tissue paper or paper napkins
- Mod podge or white glue
- A votive candle or tea light candle (tea lights are less likely to break the jar)
- Paint brush, cue tip or craft stick
Instructions for the project: If you are using white glue you will need to thin it; mix 1/2 glue and 1/2 water in a container. If using paper napkins you will need to separate the plies. Rip the tissue paper or napkins into pieces about 1 inch by 1 inch. It works best if the pieces are jagged. Ripping the tissue paper is also good motor control practice for the kids. Using your paint brush, paint the baby food jar with the mod podge or thinned glue. You should only paint the main jar area (not the part where you would screw the top on so that paper does not catch fire). Paste tissue paper all over the jar overlapping the pieces. Paint more glue over the top of any pieces that look a bit loose. Let dry completely. Cut out a jack-o-lantern face from black construction paper or from white paper and color it and then attach to the front of the jar.

