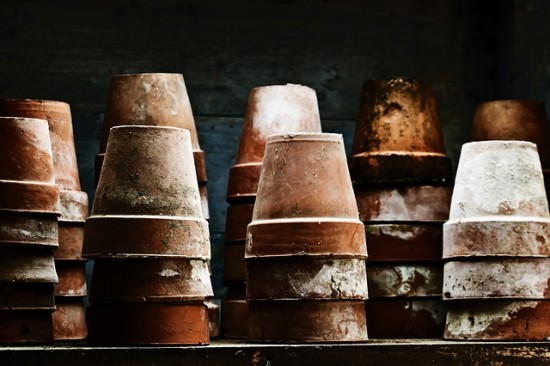
Clay pots are a lot of fun to make crafts out of. You can use them for all sorts of crafts, and they are cheap, and easy for kids to use. The following is a fun clay pot craft idea:
Flower Pot Pen Holder
For this craft you will need the following supplies:
Paints:
Choose whatever colors you want or that will best match the decor of the room you will use the flower pot pen holder in.
Glass pebbles or marbles:
Again choose any color. To make them look more like soil, choose browns and blacks, but for a festive, fun look, choose blues, greens, etc.
Pens:
You do not want the click pens, rather ones with a cap that you remove in order to write. Click pens do not work for this project, a package of Bics will work great.
Artificial flowers:
The bigger the flower the better, average size daisies, etc. work well.
Flower tape:
This is green tape that florists use when making corsages etc. You can buy it at Wal-Mart.
Follow these instructions to make your clay pot flower pot pen holder.
Step one:
Use paint to paint your pot, make it as fun, or as simple as you want. You will want to use a color scheme that will work well in your office, kitchen, or wherever else you may need pens on a regular basis. You can make the pot fit your personality. Paint stripes, paint polka dots, paint smiley faces, or whatever else works for you. Just get it painted so it is fun and festive, then let it dry.
Step two:
While your flower pot dries you are going to make the flowers that go in it. To do this you are going to take your silk or artificial flowers and cut the stem so it is about one inch long. Then use the flower tape you have to attach the flower to the top of your pens. It may take a bit of tape to secure it tightly, and this is something an adult may want to help a child out with so that the tape lays smooth and looks nice. You can wrap the tape all the way down the pen if you wish to make it green and make it look for like a stalk. However, do not leave the flower stem that long, otherwise it will be uncomfortable in your hand, and hurt your fingers when you try to type.
Step three:
Take your glass pebbles or marbles, and fill your flower pot so it is about ¾ of the way full. This is your soil.
Step four:
Plant your flowers by sticking the pens, tip first, into the pebbles, so that they stand straight up, with the flowers up, and look like they are planted.
Step five:
Enjoy!
These simple flower pots are a lot of fun, and very useful as well. Your child will love having one in their room so that they can keep track of all of their pens. You can use pencils as well, but the drawback is, if you do that you will need a separate eraser, as the eraser end will be covered by the flower and tape. These make great gifts for grandparents and friends.

Leave a Reply