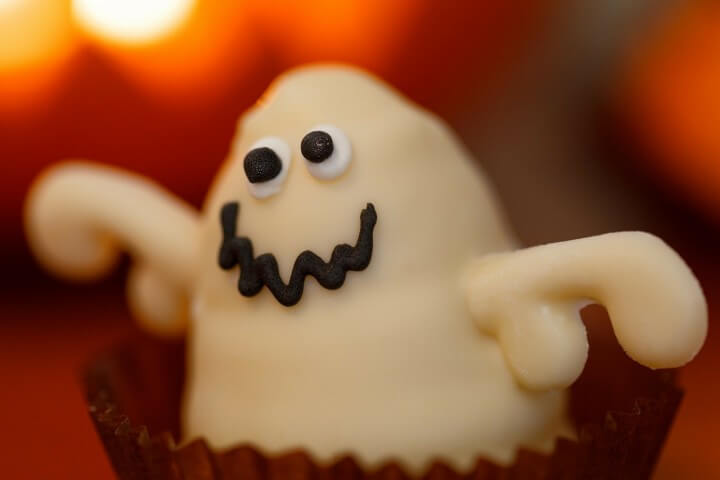
 Halloween is the holiday for goblins, ghouls, and ghosts. The following are a few fun crafts for making Halloween ghosts:
Glue Ghosts: These are a lot of fun and can be used to decorate windows and other surfaces. They are easy to make, really cute, and only require some glue and some patience.
What you’ll need:
- White school glue: Most people think Elmer’s. This works, but you can buy an off brand as well.
- Waxed paper: You will want one sheet for each person who will be doing this craft.
- Wiggle eyes: You can get these in different sizes, but for faster craft, choose smaller eyes so you can make smaller ghosts.
- Felt: You can get orange, black, green, etc. to cut out things to decorate your ghosts, such as a bow tie, hair bow, vest, etc.
- Black buttons: These work great for the ghosts nose, or can be used to decorate down their front.
- Small pom-poms: You want the really tiny ones as you will use these as buttons down the ghosts front, or to decorate the ghost.
Instructions for the Project:
- Place a piece of waxed paper on a counter top or table. The surface needs to be flat, and the person making the ghost needs to be able to reach it.
- Squeeze glue from the bottle into the shape of a ghost. This may require some help from an adult. You will want to start at the head, and get larger as you work toward the bottom.
- Place wiggle eyes into the glue at the head to give your glue blob some character.
- Decorate your ghost further using the buttons as a nose, and the felt for ties, etc, and the pom poms as buttons down the ghosts front.
- Allow them to dry completely. White school glue takes a long time to dry, and even longer when it is used in large quantities. Give it at least 24 hours, possibly longer, to let it dry all of the way.
- Once it is dry all of the way you want to carefully peel the ghost from the wax paper and use to decorate the house, your windows, etc.

Leave a Reply