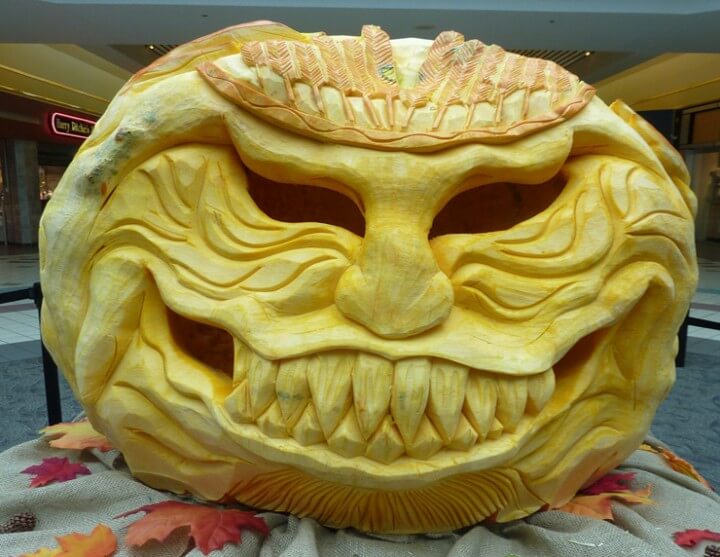
 As you look at Halloween pumpkins that have been carved with extreme designs you may be thinking that you could never do that. But the truth is that with some practice and a few tips you too can master the art of extreme Halloween pumpkin carving. While the designs, the tools and the techniques are a bit bigger then carving a conventional pumpkin (with traditional triangle eyes and jack o lantern smile) the payoff is that you will truly have a work of art and at least have fun trying! So if you are interested in taking your pumpkin carving to a new level here are some tips for extreme Halloween pumpkin carving-
- Color code design areas-If you are doing a complex design you may want to color code some areas. If this is the case, it is recommended to use dry-erase markers. (These are the markers that you use for a white board). They will write on the pumpkin surface well and clean up easily. Pens and other markers will not come off of a pumpkins skin and will make the finished product look like it was not finished. You can pick up dry erase markers at most office supply stores for an affordable price.
- Tips for the carving-Most extreme carvers recommend using a jig saw. Unlike when cutting wood, you will not even need to drill a pilot hole. You can just jab the saw into the pumpkin flesh and it will go right in so that you can start carving right where you want to. Carving pumpkins with a jig saw has been compared to being a lot like driving on ice. This is because a little power goes a long way and once you start moving, you can not stop cutting very easily. For this reason make sure that you have a very firm grip on the pumpkin and that you pulse the power trigger slowly. Do not be afraid to pull the saw out of the pumpkin. You may want to test your technique on a smaller pumpkin this way you are a little more comfortable when you go to do the actual carving.
- Removing the skin of the pumpkin-A router is the suggested tool of choice when removing the skin of the pumpkin. Sometimes you may want to remove the skin that will result in a more yellowish glow of the fire through the watery flesh of the pumpkin. Keep in mind that the effect is nice and allows you to have three different tones (dark, light, and medium). Using the router for this job is easy because it has two handles. It is important to understand however that the pumpkin flesh and skin will turn to goo. You can not just blow it out sight; instead you may have to stop working to clean off an area.
- Painting the pumpkin-If you want to add paint to your design after the carving is finished an easy way to do this is to use a paint sprayer. Simply put the carved pumpkin inside a box that has one side cut away for access. Spray the pumpkin and when you have complete coverage simply turn it by the stem until the entire pumpkin is covered.
- Stencils or freehand-While some extreme pumpkin carvers use strictly freehand designs others swear by using a stencil. For the beginning extreme carver a stencil may give you more of a sense of control. You can find many free stencils available online. However some of the best carving is done using your imagination and creativity. You can simply sketch out on your pumpkin what you want to do and begin carving.

Leave a Reply