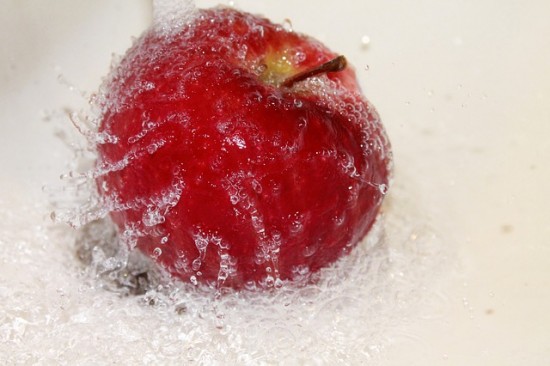
The best season for apples is in the fall. You can do many apple crafts with your kids during this season. Not only are kids told the story of Johnny apple seed, but they become knowledgeable of the fruit itself. There are many crafts you can do with apples. Here is an example of two different ideas for you to try. This also helps kids to learning about apples and to have fun with apples as well. You can make apple prints.
You will need very few materials for this project.
- Apples
- Paper towels
- Styrofoam plate or meat tray, or another kind of shallow dish
- Construction paper (any color will do fine)
- Paint
To get started you will need to first slice the apple in half. You can experiment with your apples by cutting them in different ways and seeing what designs you will get from the center of the apple. Cut through the top and out the bottom to make a “traditional” apple print. You can also try to cut through the middle to make apple “star” prints. You can also try cutting the apple into quarters for another print also.
Then you will fold the paper towel into 4ths and lay it on the bottom of the Styrofoam plate. Take the paint and pour the paint into the center of the paper towel to make it into a stamp pad. You can choose the color of paint to be orange, red, yellow, brown, etc.
Begin by taking the cut side of the apple and dip into the paint. Dab the apple slightly on the paper towel to remove excess paint. Then take the apple and press it onto the construction paper the same you would with a stamp. Kids will have so much fun making different designs and creating many different pictures as well.
If you want to make another fun craft with your kids using apples you can try the apple dolls. Sounds difficult to do, and yes it will be a little more challenging than the apple prints. However they are creative and different making them fun. The materials you will need are:
- Apples
- Vegetable peeler
- Paring knife
- Paint or colored markers
- Wool yarn
- Scissors
- 16 oz plastic bottle
- Bottle cork
- Fabric scraps or ribbon
- Rubber bands
Begin by choosing which apple you would like for the dolls head. Peel and core the apple, then use the tip of the vegetable peeler to carve a face on one side. This will help to hollow out deep-set eyes and a paring knife to make a slit for the mouth. You can any other extra features you feel you’re capable to do such as a nose, ears, etc. Once the head is dry, begin decorating your apple doll. You can use water based paint or colored markers. You can choose to enhance the eyes, lips or rosy cheeks to your apple doll. Now that the head is complete you need to make the body. Take the plastic bottle then plug the top with a cork to serve as the dolls neck. Wrap some fabric around the body so that it extends beyond the top and the bottom of the bottle. Use the rubber band to secure the fabric. Place the cored portion head of the doll down onto the cork.
Two crafts for you to share with your family and friends. Giving kids a chance to experiment with apples and crafts at the same time. This is a great way to teach your kids about autumn and to decorate your home.

Leave a Reply